|
Ships - S/S Puff
My MR layout incldes a harbour section and of course it should harbour a ship or two. After stumbling over a couple of web sites about English Puffers - small canal ships - I found a GA drawing of the VIC 56. This looked more or less perfect and away I went building.
I understood it so that the puffers were built as small and handy supply ships in coastal and canal traffic. They were simple and sturdy and had a design that woulöd even fit into a Swedish environment. When finding the drawing of the VIC 56 it was a no brainer, jsut start building. The drawing can be found here:
http://www.vic56.co.uk/plan.htm
With that drawing as base, I first made a dummy using some old Corn Flakes cardboard box. I wanted to get a grip of the final size and understand what materials to use. The size was very good even for a smaller harbour than mine. The cardboard dummy also worked well as template to cut the plasticard sheets for the S/S Puff to be.
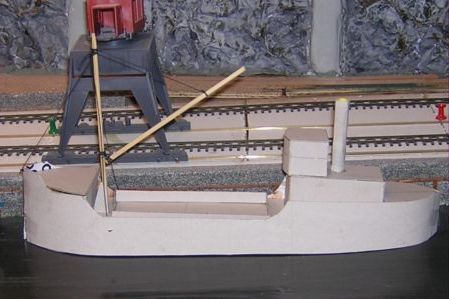
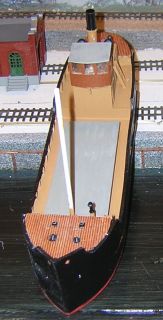
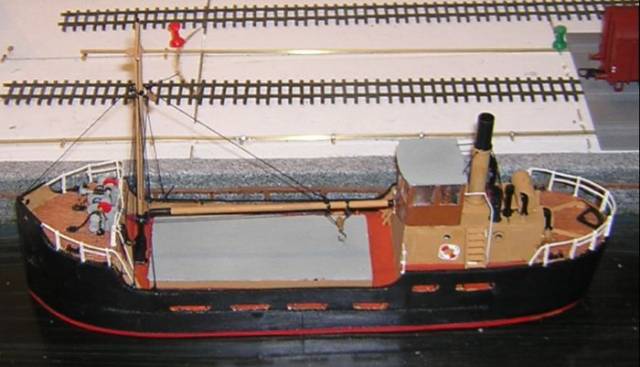
This is how it looks in the harbour. The ship seems to "sit" on the stern which is completely correct. The machine and the boiler(s) were all placed below the wheel house. It all changes when the cargo bay is filled of course. Well, the test was gratifying and now on to the build. The bottom was made from 2 mm thick styrene as were the lengthwise formers and the main bulkhead below the wheel house. The rest was made from 0.75 mm sheets. with suitable reinforcements.

Now bottom and decks are in place and the shape of the hull is becoming visible. This also clearly shows that the hull is a simple build as tyhere are no double-bent surfaces. A perfect first time build.

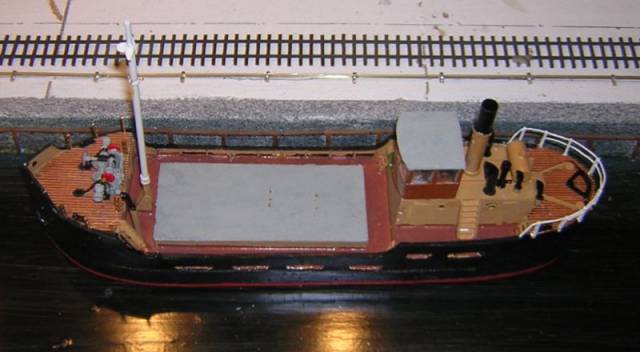
Some more details in place. The stern deck house, chimney and mast. The placing of the "windows" is marked out and frames fitted. I used the smallest size of ready-made fittings for this.

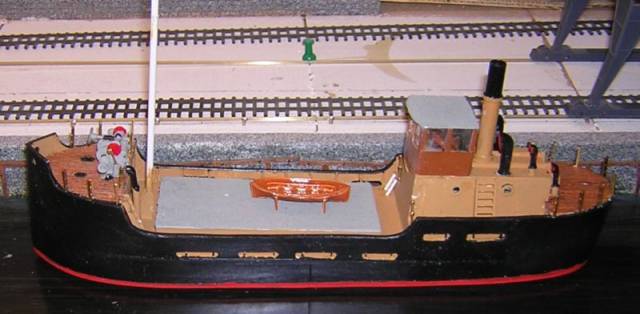
The hull is more complete, as is the wheel house. The can be seen onn the far side of the loading bay and I made a colour test as well. A piece of the fore wooden decking is added. The red bottom colour and the black hull works fine, but the yellow spuerstructure looks awful! Must be changed.
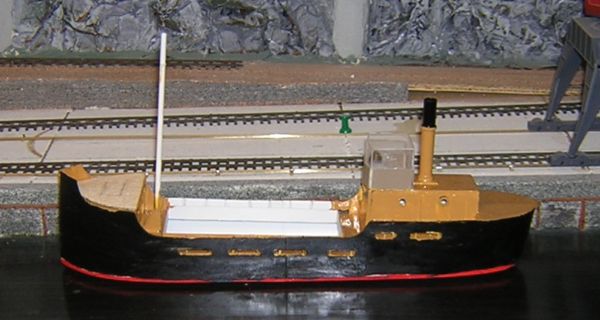
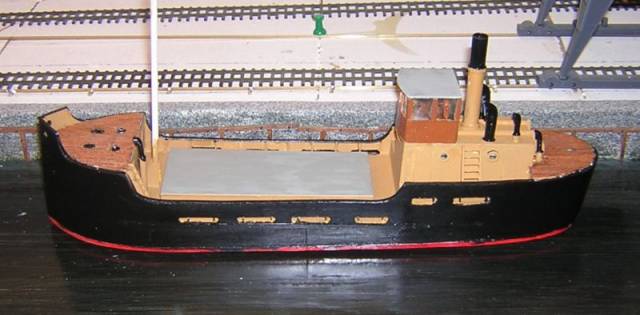
The sandy colour was much better. Quite correct for the time as well I think. I will go for that.
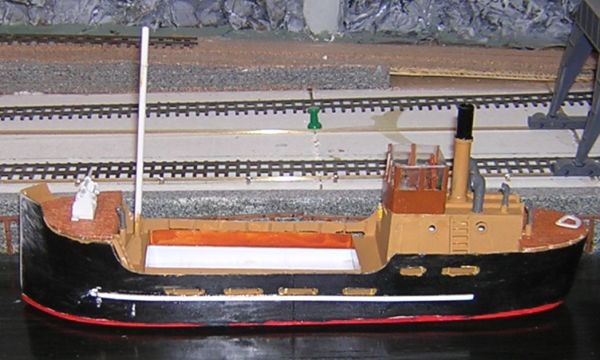
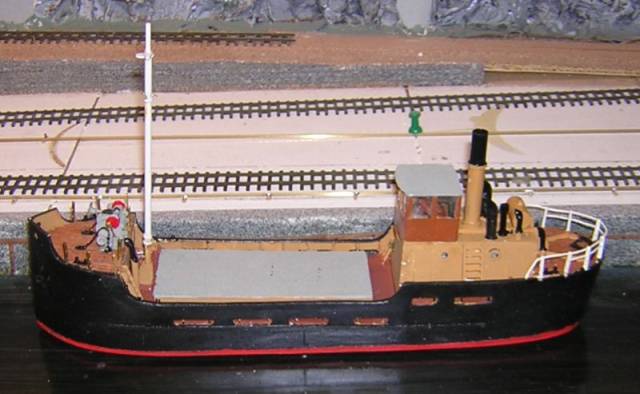
More stuff! A winch on the fore deck, and the deck itself has got some paint as well. A rudder quadrant on the aft deck, a ladder to the wheel house, a lot of fresh air vents and a protection stringer along the outside of the hull. Also a new colour test, some red paint on the steel deck.
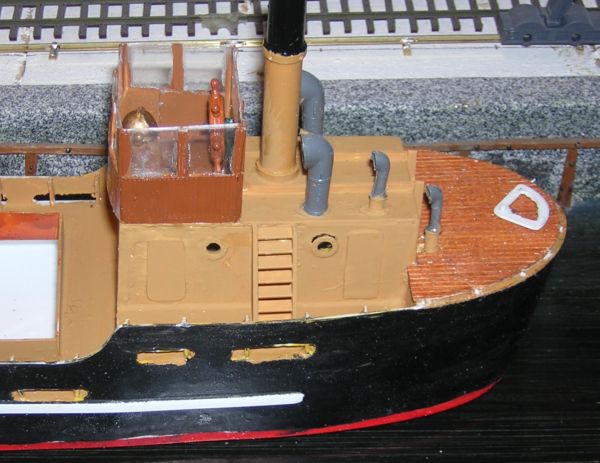
A closer look at the poop deck (aft) reveals a wooden decking here as well. The wheel house has now got its wheel, compass and controls.
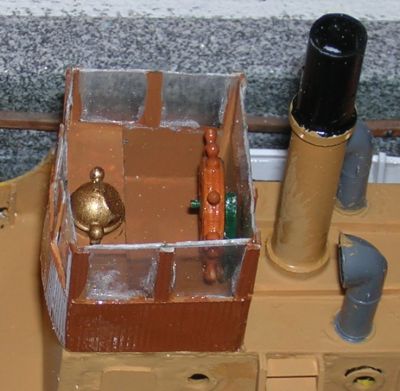
On this type of ship the wheel was placed at the rear wall instead of the front wall to avoid the control chains running across the floor. I practice a chain was run each side of the chimney to a drum on the wheel axle. By turning the wheel the chain was pulled over to one side and brought along the rudder quadrant. The chain ran in a tunnel when passing cabin roof and ecking and can just be seen in the picture.
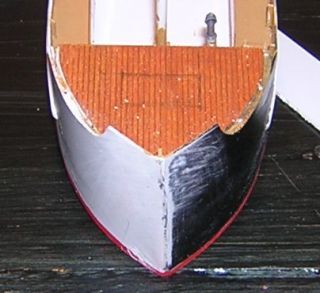
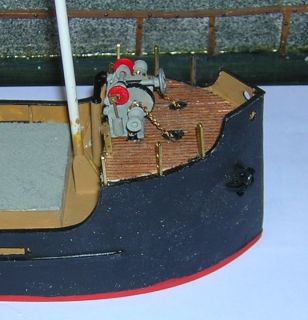
Looking at the bow for a while. What is going to be a steam winch is tested in place to be in correct size and positioning.

In this slightly blurry picture the winch has come a little further. A fiddly little job with many small parts coming quite well together.
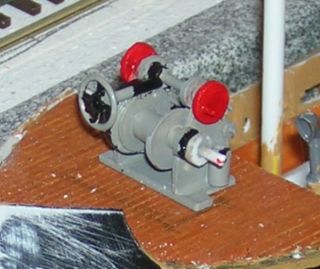
Most items in place on the winch but it is still not finished. Still thinking of how to make a few of the parts. So far everything looks good from this angle.
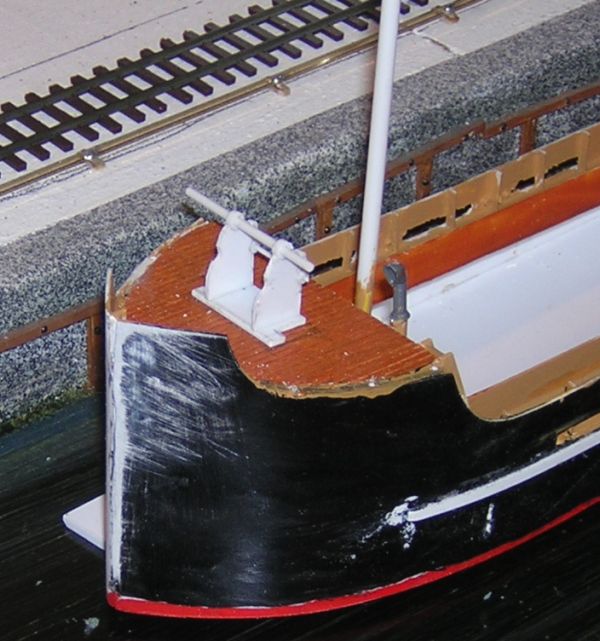
A view from above. This shows the caulking of the fore deck using black sewing thread. I use a wooden panel with ready-scribed ribsand glue a sewing thread between each "board". This will give a very good looking wooden deck, but it is a time consuming job.
Here the caulking is more clear. With one thread between each board it will look good when ready. Sometimes a thread suddenly disappears only to be found on one of the fingers, sigh.
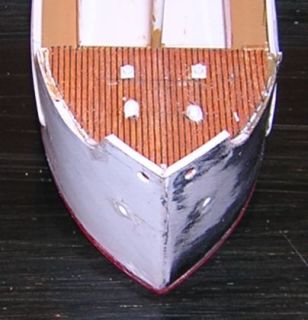
Caulking done and the anchor chain tubes are in place. Both the guiding tubes out through the hull in the bow, and those to the chain box under the deck. Also the holes for the mooring lines in the bow are drilled.
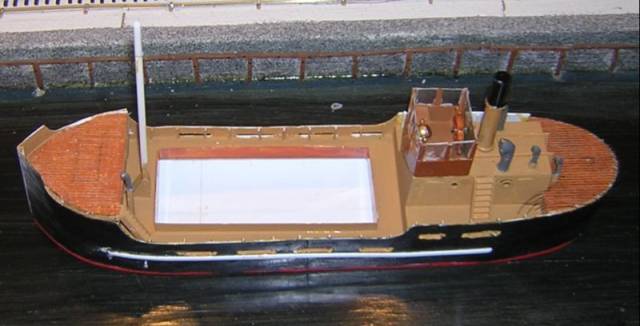
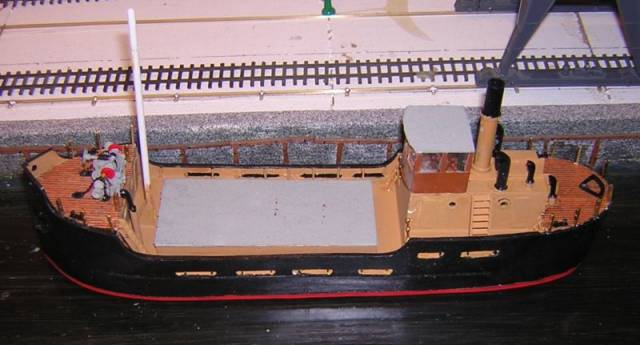
More painting. The loading bay hatch and the roof over the wheel house in now in place. It is starting to look like a ship now.
A better angle for overview pictures.
More details. It is getting time to fit the standards for the railing on fore and aft decks. The railings conenct to the hull where applicable. The life boat was normally placed like this on top of the loading hatch using "feet" of wooden boards so as not to damage the hatch covering. The inside of the vents are painted red and the winch is test fitted.
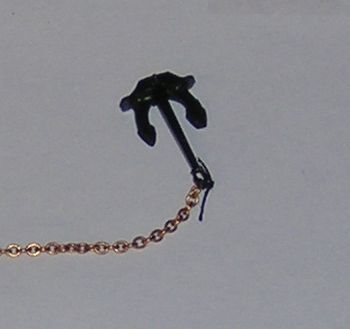
Time for the anchors. The usual type with their chain. I simply tied anchor and chain together with a bit of sewing thread as this does not show when fitted.
The anchors in place. The anchor chain coming up to the winch around the winch rollers and down to the box below. The winch turned out well and is correctly placed. The railings are taking shape but the brass wire disappears into the background. The rudder quadrant is in place as are pollards and rope guides.
A clearer picture before the chain was painted. Here you can see how it fits. Next step will be to paint the steel deck with its colour. At this time it was redish, later on a more blue-green variant.
A view from above again. The aft railing shapes up. The chain tunnels for the steering chain also in place and the mast begins to get details. The spreaders and the mount for the top lantern together with the collar and ring for the blocks for the boom and winch ropes.
The forestay fitted together with the eyelets in the hull for the side rigging. All these little details takes time and are often quite fiddly to get in place.
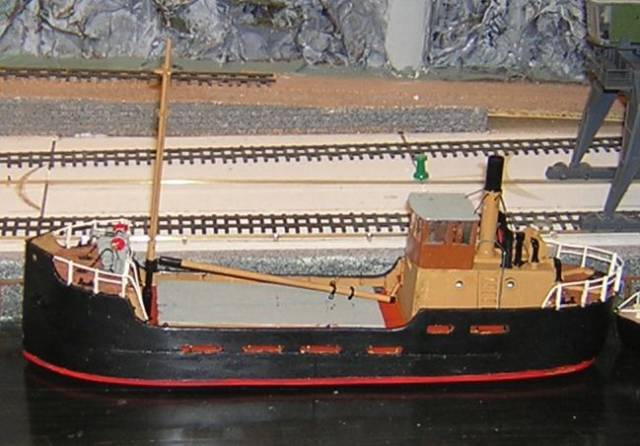
More rigging. Now the boom or loading jib and the side rig. THe chimney have got stays and the railing to the wheel house. The railing on the fore deck done as well. All bits get their proper colour as assembly advances.

A better angle?
The rigging closes in on completion. All fixed and running rig in place.
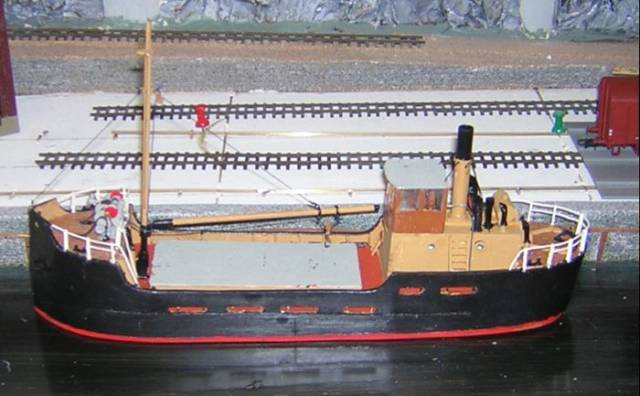
A support for the jib on the front of the wheel house, Life bouys and two samm railing fitted and painted.

Only lanterns missing now.
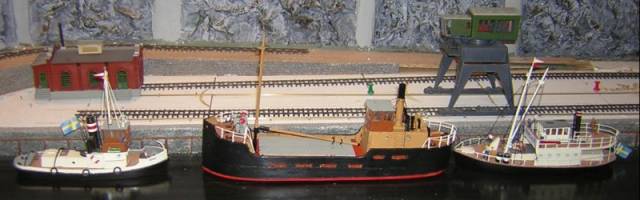
Here we see S/S Puff together with S/B Söle (right) and S/S Hwila II (left) in Dåseberga harbour. S/S Puff is now ready. She is currently the largest ship in the fleet and well managed by its captain von Krantz.
Enjoy!
|