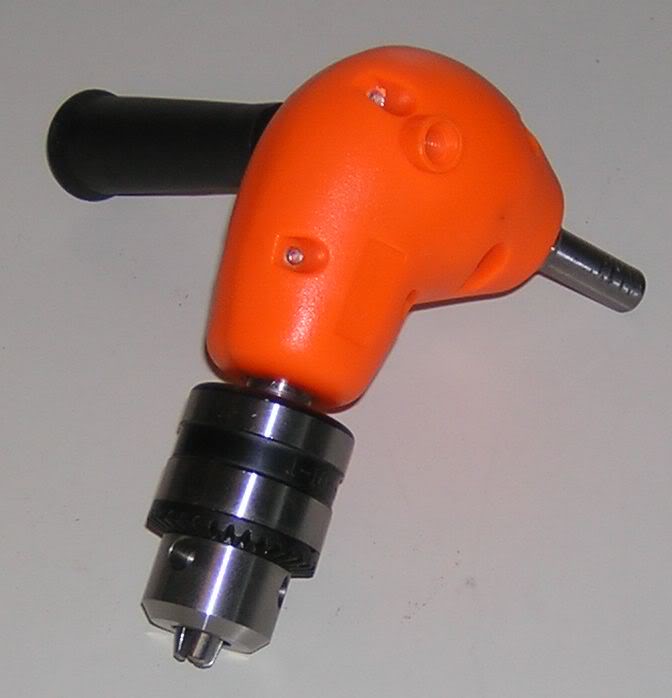
In addition to the stand I also purchased an angle accessory for a power drill for around 12. This one is also found in various shops and often at good prices. The chuck is good and was what I was looking for.
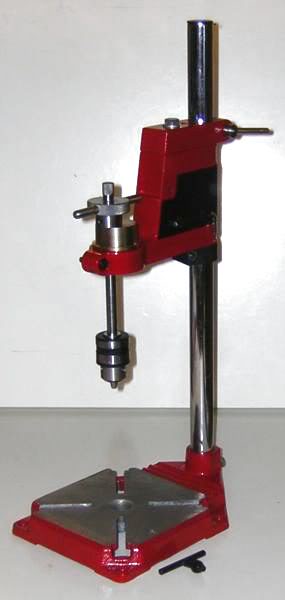
Around 15 worth of purchased stuff and some bits from the scrap box. I did not think it was necessary to keep the drill function so I removed all parts for that.
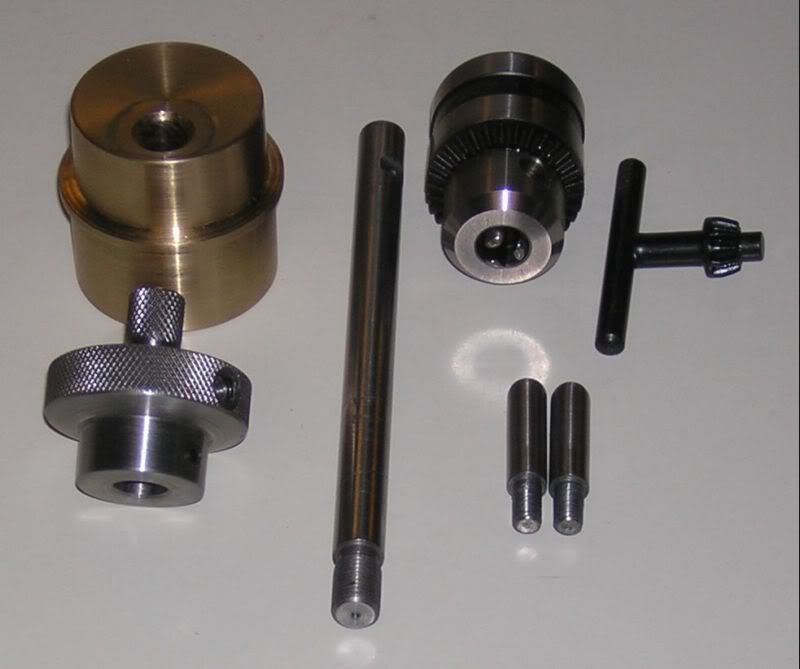
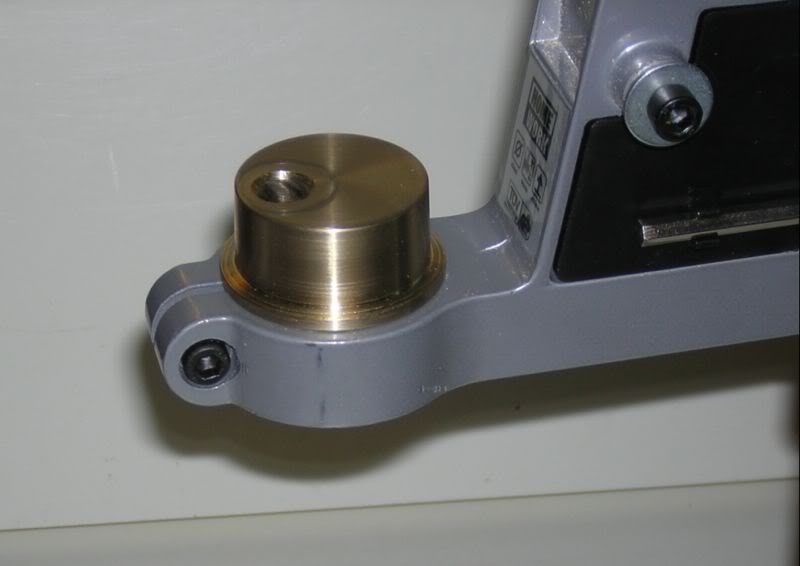
Then I turned a suitable chunk to be placed in th stand in place of a power drill. This one was from brass as I happeneed to have a useful chunk. A few more bits was also made to suit.
The brass block fits in place of the drill and is locked using the same screw.
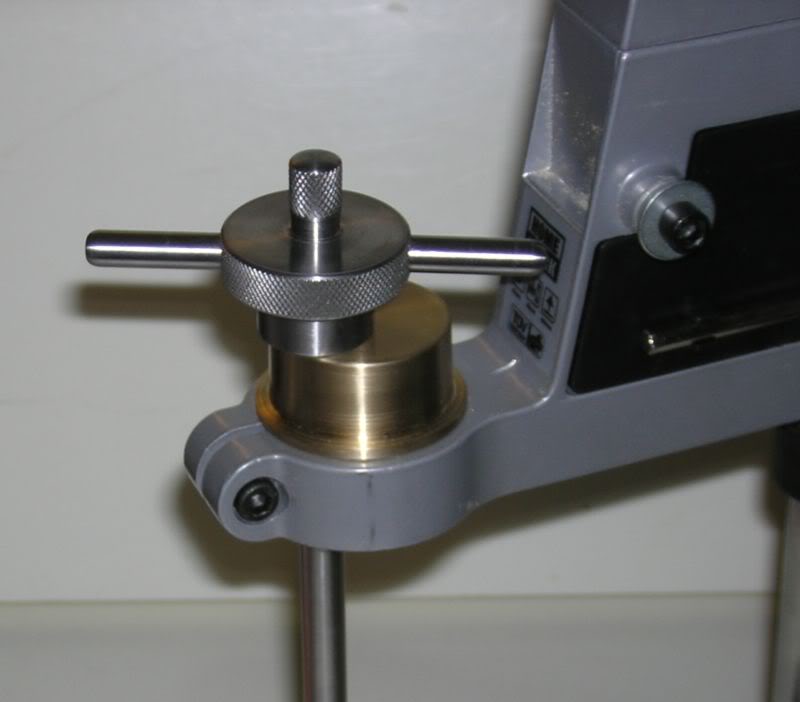
The knob in front of the block have two grip diameters, a larger for medium sized taps and a smaller one for the small taps. I also drilled and tapped two holes in the side of the larger grip diameter for a couple of "wings" as an aid when using larger taps. The drill chuck is threaded with a 3/8"x24 thread and is thus threaded onto the shaft and locked using a thread-lock resin. Below the chuck we see the two stubs that can be threaded into the grip wheel.
The assenbly is done as follows. Start by securing the block to the stand.
Fit the finger grip to the shaft and fit the stub wings:
As can be seen, the wings just pass the support, but it works well and M6 (1/4") threads are easily done.
Time to fit the chuck.

It is normally enough to tighten the chuck well, but using some thread-lock resin makes sure it stays in place. The chuck in not so large4 it cannot pass through the hole in the support so it will be easy to dismantle the whole thing.
After som tough-up with filing and sanding I locked the feed function by replacing the guide pin with a suitable M10 bolt.