|
Home
Introduction
News
Dåseberga Gardens
A Garden Tour
Monthly Activities
Garden Projects
Dåseberga Model Rail Road
Dåseberga Mech. Workshop
|
Project - A Simple Potting Table
There is a great difference in standing on knees at ground level compared with standing in front of a table when working with plant pots. There are tables to buy, but it is cheaper and quite easy to make one yourself, and it becomes sturdier.
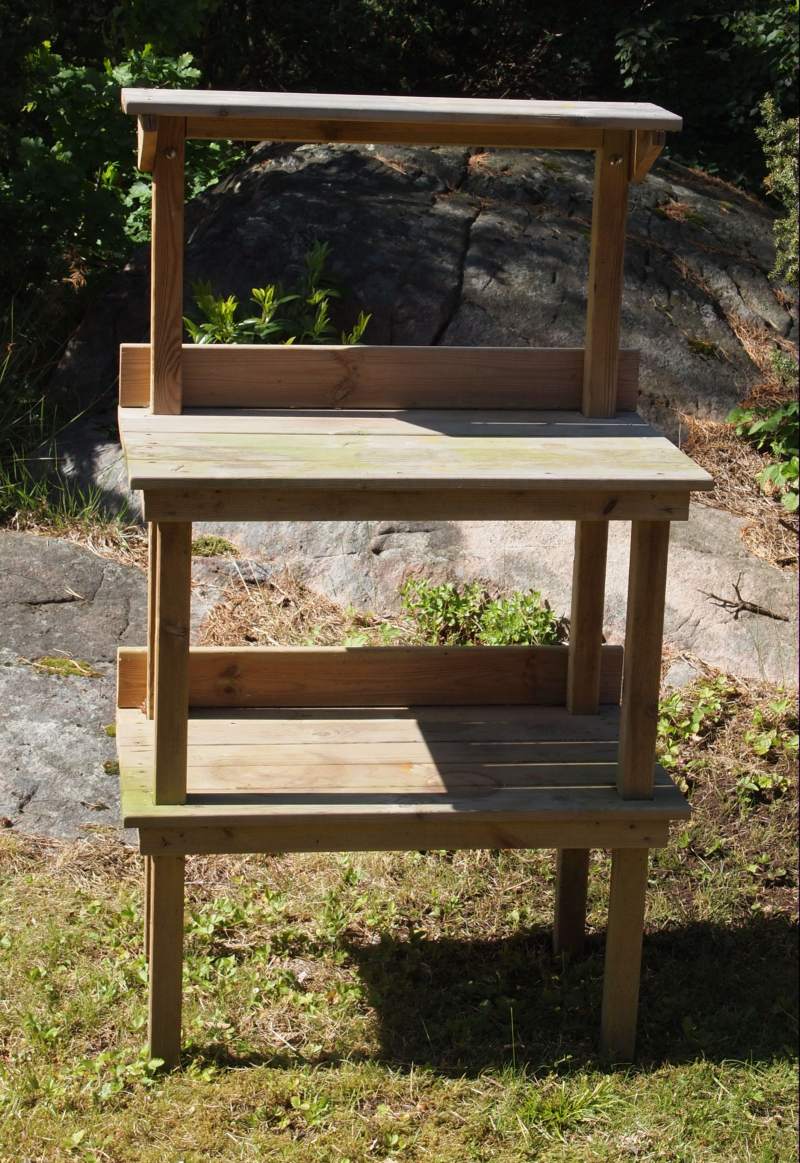
This table is made from impregnated wood for outdoor use just to allow it outdoor all year round. It turned out in the same size as most other ones on the market, but have a shelf below the worktop and a small shelf above the worktop. When i built it I sort of designed as I went so the sketches below are made after construction to simplify together with a number of detail pictures.
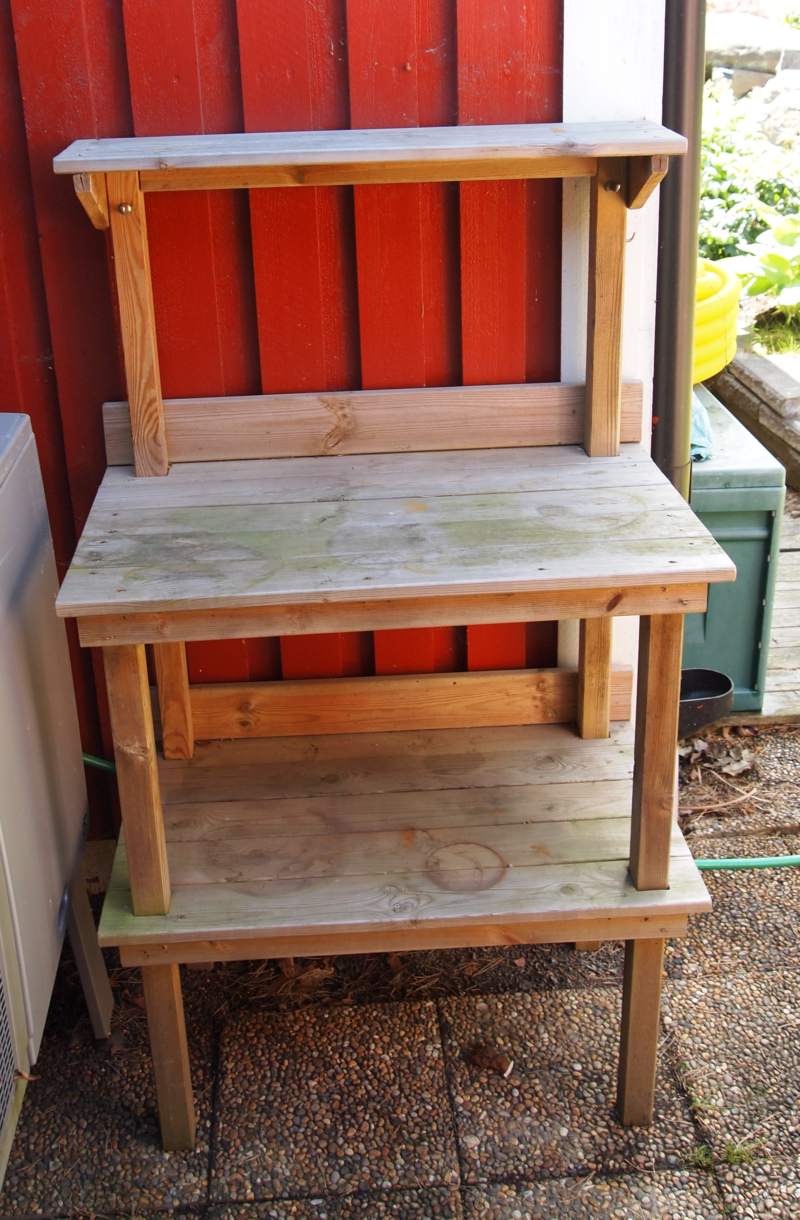
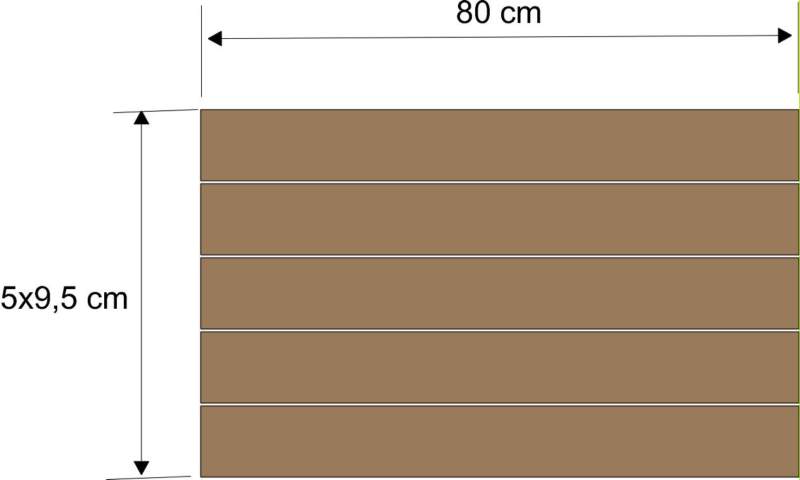
Above you can see a temporarily empty bench at the wall. The bench is 80 cm wide and use five 22x95 planks as worktop. The same plnaking is used also for other parts apart from the legs which are 45x45 mm. Everything is then screwed together to make it simple.
Tools & Materials
The following material is used:
Legs; 45x45 mm pressure impregnated outdoor planks, 4,2 m
Shelves and edges: 22x95 mm Press. impregnated planks, 12 m
Screws: one box 38 mm outdoor wood screws
A few hooks for tools and threads.
I used the following tools:
Hand saw
Screwdriver/Battery drill with correct bits
Carpenters Angle
Pen
Tape measure or Folding rule
Clamps
The Build
Start by cutting the planks to measure for the worktop, shelves and legs. Make sure they become equal in length and round off the edges lightly. Mark out and drill holes in the lower shelfs and rearmost worktop planks to pass the legs through. The holes shall have an easy fit without play against the legs. Remove splinters and rough edges.

Start by sticking the legs through holes in the boards in both planks for the worktop and the shelf for the rear legs. Make sure that the planks have the same height as in the sketch and secure lightly using a screw. Make sure that the legs are at right angles to the floor and to tthe newly fitted planks, adjust if required. Now stick the front legs through the remining plank and secure lightly with a screw before assembly with the rear legs. A cross-member is now placed is now placed under the rear legs board and goes forward to the front legs. Secure the cross-member on the outside of the legs.
When the side boards are in place, both worktop and the large shelf can be assembled and secured with screws. Make sure that the table is square in all directions during the work. Being careful pays off. Better to take it slow than getting a skewed table. When worktop and sjelf is stratight and level, further supports can be added. A larger edging on the back side stops things from falling off.
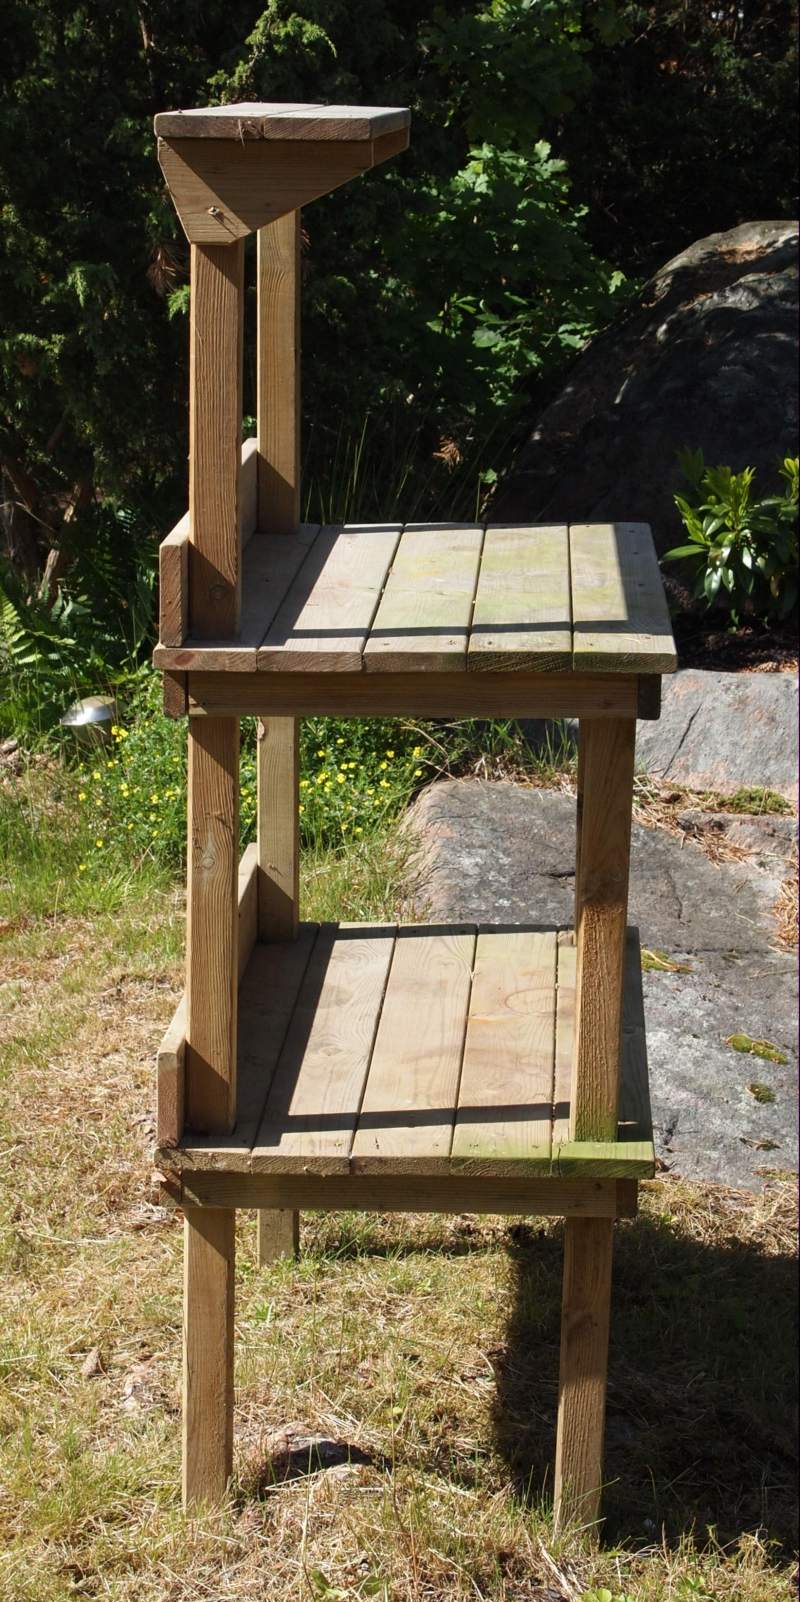
Then it is time for the last bit, the top shelf. It is assembled on the top of the rear legs and acts both as shelf and as a suitable place for tool hooks. When the shelf is in place, the bench is ready and can be put in its place. A light sanding together with a layer of protective oil finishes off the work nicely.
Now it is there, a practical bench to use that avoids hurting knees and backs.
Good Luck!
/Peter
|